 Save
Save My neighbor stopped by one Thursday evening with a craving she couldn't quite name, and I threw together these burritos on instinct—warming tortillas while browning beef that filled the kitchen with cumin and garlic. She told me later that bite was exactly what she needed, and I realized that sometimes the best meals come from that honest moment when you just cook what feels right. Now I make them whenever I want to turn an ordinary night into something people actually remember.
I made these for a small dinner party once and watched my friend take one bite, pause, and ask if she could take a second one home for later—something about the way the warm cheese and beef mixture held everything together just worked. That's when I understood these weren't fancy, but they were honest food, the kind that sticks with you.
Ingredients
- Ground beef (1 lb): Choose a blend with some fat content—it keeps the filling moist and flavorful instead of dry and crumbly.
- Onion and garlic: These are your flavor foundation; don't rush them, let the onion soften properly before the garlic joins in.
- Cumin, chili powder, smoked paprika, oregano: Together they create that warm, recognizable Mexican-American taste that makes people know exactly what they're eating.
- Tomato paste: A small amount concentrates the savory notes and binds the spices together beautifully.
- Cooked rice: White or brown works equally well; pre-cooked is fine, or make it fresh if you have time.
- Black beans: Canned beans are perfectly acceptable—just drain and rinse them well to remove excess sodium.
- Cheddar or Monterey Jack cheese: Shredded cheese melts better than blocks; either variety brings that creamy richness.
- Flour tortillas (10-12 inch): Larger tortillas give you room to build properly without overstuffing; they're also more forgiving when you're learning to roll.
- Fresh toppings (lettuce, tomato, sour cream, cilantro): These cool, fresh elements prevent the burrito from feeling heavy and add textural contrast.
Tired of Takeout? 🥡
Get 10 meals you can make faster than delivery arrives. Seriously.
One email. No spam. Unsubscribe anytime.
Instructions
- Build your flavor base:
- Heat olive oil in a large skillet over medium heat, add finely chopped onion, and let it soften for 2-3 minutes—you're looking for it to turn translucent at the edges. Add minced garlic and cook for just 30 seconds until fragrant, which is the exact moment to move forward before it burns.
- Brown the beef:
- Crumble the ground beef into the skillet, breaking it into small pieces with your spoon as it cooks for 5-6 minutes until no pink remains. You want it broken down into a fine texture, not chunky, so it distributes evenly in each burrito.
- Layer on the spices:
- Sprinkle cumin, chili powder, smoked paprika, oregano, salt, and pepper over the cooked beef, stirring constantly for about 1 minute. This blooms the spices and lets them coat everything evenly instead of sitting on the surface.
- Finish the filling:
- Stir in tomato paste and water, mixing well to break up any lumps, then let it simmer for 3-5 minutes until the liquid reduces and thickens slightly. You'll know it's ready when it looks moist but not soupy—the spoon should leave a slight trail across the pan.
- Warm your tortillas:
- Place tortillas directly in a dry skillet over medium heat for about 20 seconds per side, or wrap them in a damp towel and microwave for 30 seconds—either method makes them pliable and warm enough to roll without cracking. They'll be more forgiving this way.
- Assemble with intention:
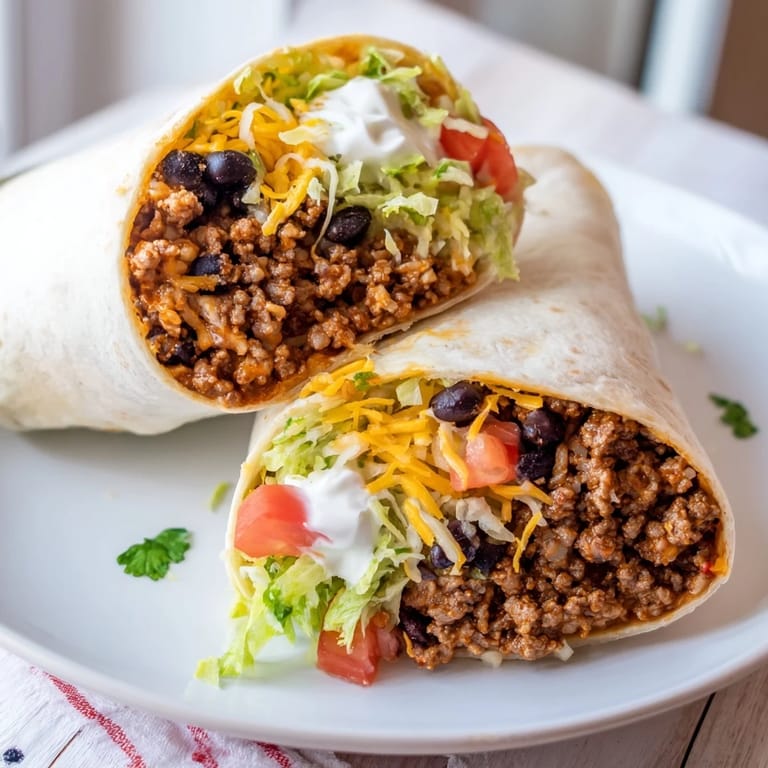
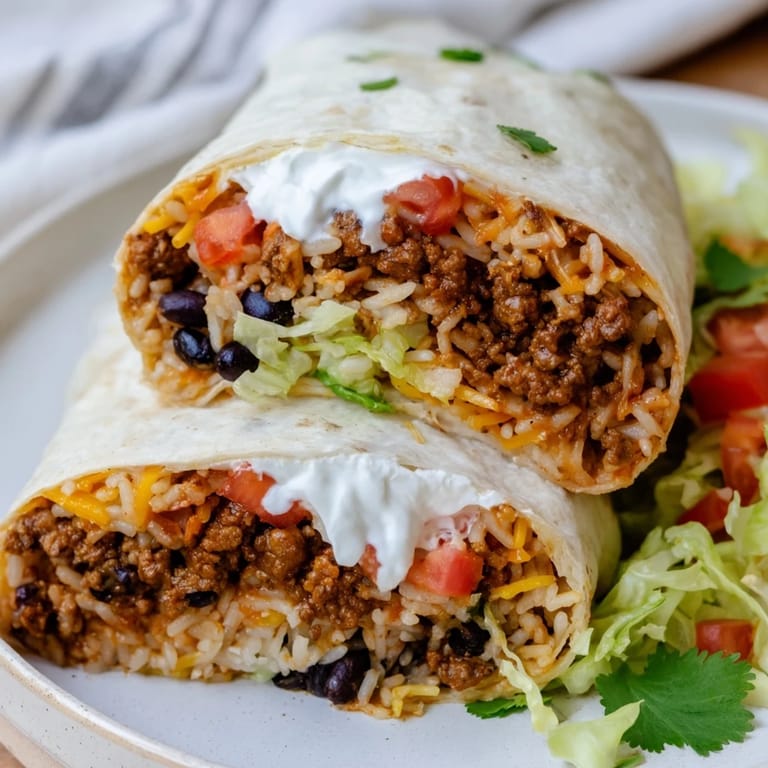
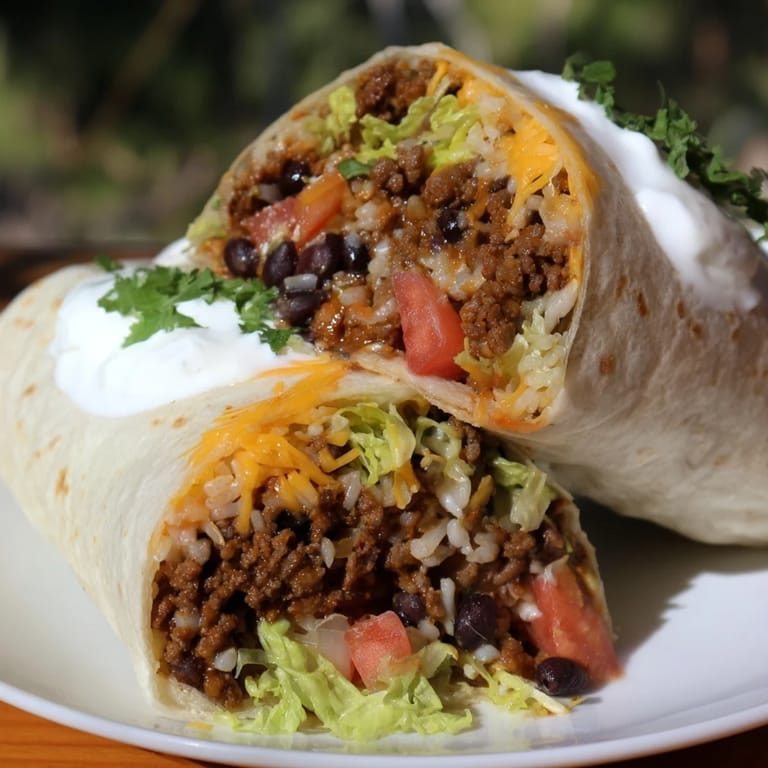
- Lay each tortilla flat on a clean surface, then layer 1/4 of the rice in a horizontal line slightly below center, followed by beans, the spiced beef, cheese, lettuce, diced tomato, and a generous dollop of sour cream. Keep the filling contained in that central zone—overfilling makes rolling nearly impossible, and you'll squeeze everything out the ends.
- Master the roll:
- Fold the left and right edges of the tortilla inward about 2 inches, then starting from the bottom, roll upward tightly and steadily, using your hands to keep the filling compressed as you go. Roll it seam-side down onto a plate or straight into the skillet for finishing.
- Optional crispy finish:
- If you want a crispier exterior, place the rolled burrito seam-side down in a dry skillet over medium heat for 2 minutes per side until golden. This seals the seam and adds a subtle crunch without making them greasy.
 Save
Save I remember eating one of these while sitting on my kitchen counter at midnight, not because I was hungry, but because I was stressed about something I can't even recall now—and somehow this simple burrito with its familiar spices and creamy filling just made that moment gentler. Food does that sometimes.
Building the Perfect Burrito Structure
The architecture of a burrito matters more than people realize; if you layer randomly, everything shifts and separates as you eat, but if you think about it like building from the center outward, each component stays in its place. The rice creates a base that absorbs liquid, the beef sits next, cheese melts into its warmth, and the cool toppings sit on top where you can taste them distinctly rather than blended into mush. Over time, you'll develop a sense for how much filling is too much—it's less about following a rule and more about feeling the resistance in the tortilla as you fold.
Variations That Open New Doors
These burritos are a canvas more than a strict recipe; I've made them with peppers and mushrooms for vegetarian friends, added sliced jalapeños for someone who loves heat, and once stirred in a bit of lime zest and fresh cilantro that transformed the whole flavor profile into something brighter and more summery. Avocado slices and hot sauce are obvious upgrades, but I've also experimented with adding corn, sautéed peppers, or even a drizzle of lime crema that adds this subtle tang nobody expects.
Serving and Storage Wisdom
Burritos are best eaten immediately while everything is still warm and the tortilla is pliable, but life isn't always that neat, so I've learned a few things about keeping them good. If you need to make them ahead, assemble them without the sour cream and fresh toppings, wrap them tightly in foil, and reheat them in a 350°F oven for about 10 minutes—the warm cheese will hold everything together until you're ready to eat. Serve with salsa, guacamole, or tortilla chips on the side, and if someone wants to customize with extra toppings, let them.
- Store leftovers wrapped in plastic wrap in the refrigerator for up to 2 days, though they're never quite as good as fresh.
- These freeze beautifully for up to 3 months if wrapped individually in foil first, then placed in a freezer bag.
- Reheat frozen burritos directly from the freezer in a 400°F oven for about 20 minutes, or thaw them first for faster warming.
 Save
Save There's something deeply satisfying about a burrito that comes together smoothly, where every bite has all the components you want in the proportion you need. These aren't complicated, but they're nourishing and honest, which is sometimes exactly what a meal should be.
Recipe FAQs
- → How do I make the beef filling flavorful?
Sauté ground beef with onion, garlic, and spices like cumin, chili powder, smoked paprika, and oregano to build depth and aroma in the filling.
- → Can I use different cheeses for the filling?
Yes, cheddar or Monterey Jack are recommended, but feel free to use any melting cheese you prefer for a creamy texture.
- → How to keep the tortillas soft and pliable?
Warm the tortillas in a dry pan or microwave briefly before assembling to ensure they are flexible and easy to roll.
- → What are good additions to elevate the wrap’s flavor?
Try adding sliced jalapeños, avocado, or hot sauce to introduce extra heat and creaminess to the wrap.
- → Can I prepare this meal in advance?
The fillings can be cooked ahead of time and stored separately. Assemble and warm the wraps just before serving for best texture and freshness.