 Save
Save Peanut butter banana ice cream first happened in my kitchen on a summer afternoon that felt far too hot to even think about turning on the oven. As I rifled through my freezer, the sound of frozen banana slices rattling in their container made me curious. Sometimes, my best recipes are born out of stubborn cravings and a nearly empty fridge. One quick experiment later, I found myself beaming at a rich, creamy bowl of ice cream that didn't need a drop of dairy. Who knew four ingredients I always had around could turn dessert into a little bit of magic?
I remember one evening my partner called out from the couch asking if we had anything sweet—I was out of everything except some sad bananas and a spoonful of peanut butter. I tossed the bananas into the freezer and promised dessert in two hours. We spent the time bickering over a movie to watch and, by the time the credits rolled, the ice cream was ready and we devoured it straight out of the container.
Ingredients
- Bananas: The riper, the better, because extra sweetness means you can use less added sugar. I learned that the browned ones in the fruit bowl make the creamiest result.
- Creamy peanut butter: Smooth is key for this recipe, since chunky can make the ice cream a little gritty (unless you love that).
- Maple syrup: Just a splash lifts the flavor and balances the peanutty richness—feel free to adjust to taste or skip if your bananas are ultra-sweet.
- Vanilla extract: One teaspoon deepens the flavor and brings everything together. I once forgot it and the result just wasn't quite the same.
Tired of Takeout? 🥡
Get 10 meals you can make faster than delivery arrives. Seriously.
One email. No spam. Unsubscribe anytime.
Instructions
- Freeze the bananas:
- Arrange the sliced bananas in a single layer on a lined baking sheet, and pop them in the freezer for at least two hours until firm and frosty.
- Blend everything together:
- Toss the frozen bananas, peanut butter, maple syrup, and vanilla into a food processor or blender. Pulse and blend, scraping down the sides when it gets stubborn, until you see a super creamy, soft-serve texture.
- Serve or freeze again:
- If you like soft-serve style, dish it up straight away. For classic scoopable firmness, smooth the mixture into a loaf pan and return it to the freezer for another hour or two.
- Scoop and enjoy:
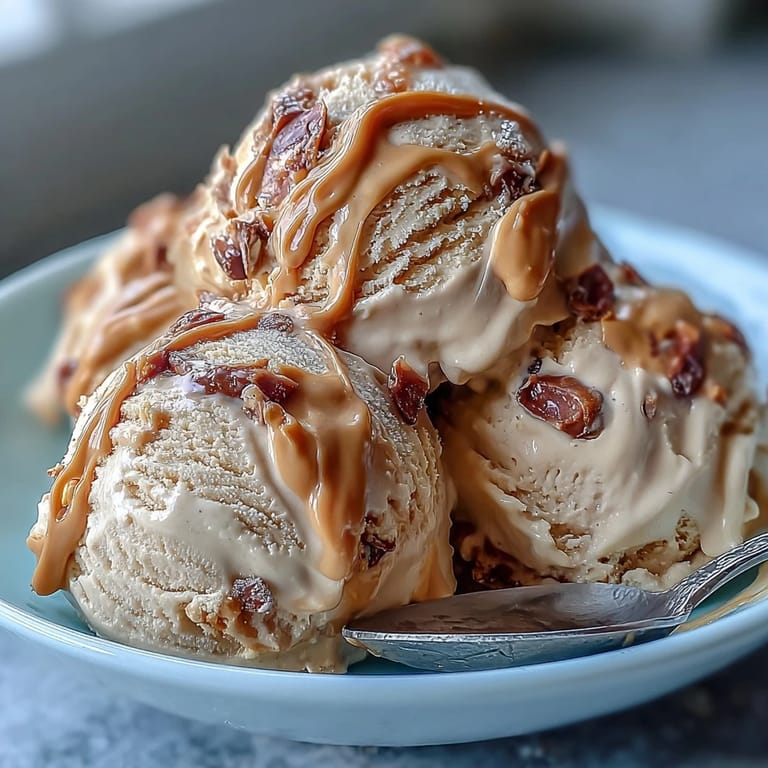
- Take out of the freezer, let it sit a minute if it's too hard, then scoop. It pairs beautifully with chocolate chips or a drizzle of extra nut butter on top.
 Save
Save  Save
Save The first time I served this at a backyard birthday, kids lined up for seconds and no one believed it was made from bananas. When laughter spilled across the picnic table, the ice cream disappeared faster than I could scoop and I realized simple desserts can make any celebration memorable.
Swapping Ingredients To Suit Every Mood
Almond butter or cashew butter both create wonderful variations—I once mixed half and half because I ran short and loved the result. Maple syrup remains my favorite sweetener for its toasty notes, but a spoonful of honey or agave easily fits in if that's what you have.
Texture Add-Ins That Make It Special
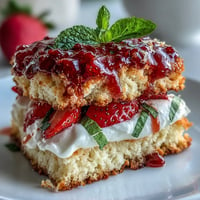
A handful of chocolate chips or walnuts folded in after blending can really add crunch and excitement. For celebrations, I sometimes add a swirl of melted chocolate or pile fresh strawberries on top for a pop of color.
Serving, Storing, and Scooping Tips
Let the ice cream sit for a minute on the counter if it's rock-hard—a little patience saves your scoop (and your wrist). Store leftovers in a freezer-safe container with parchment pressed on top to keep crystals at bay. I've sometimes scooped leftovers onto pancakes for breakfast and no one complains.
- If you want neater scoops, dip the ice cream scoop in hot water.
- Small individual containers work great for portioning ahead.
- Don't skip the parchment—it makes a real difference!
 Save
Save  Save
Save This ice cream continues to surprise me every time—it feels indulgent even though it's so simple. Here's to finding new ways to treat ourselves without turning on the oven.
Recipe FAQs
- → How ripe should the bananas be?
Use very ripe bananas with brown spots for maximum sweetness and a smoother texture when blended. Overripe bananas freeze well and yield a creamier result.
- → Can I use a blender instead of a food processor?
A high-powered blender works best; pause to scrape down the sides and pulse to avoid overheating. For less powerful blenders, let frozen pieces sit a minute to soften slightly before blending.
- → How do I get a scoopable consistency?
For scoopable firmness, transfer the blended mixture to a container and freeze 1–2 hours. Stir once halfway through to reduce ice crystals and improve texture.
- → What are good mix-ins or toppings?
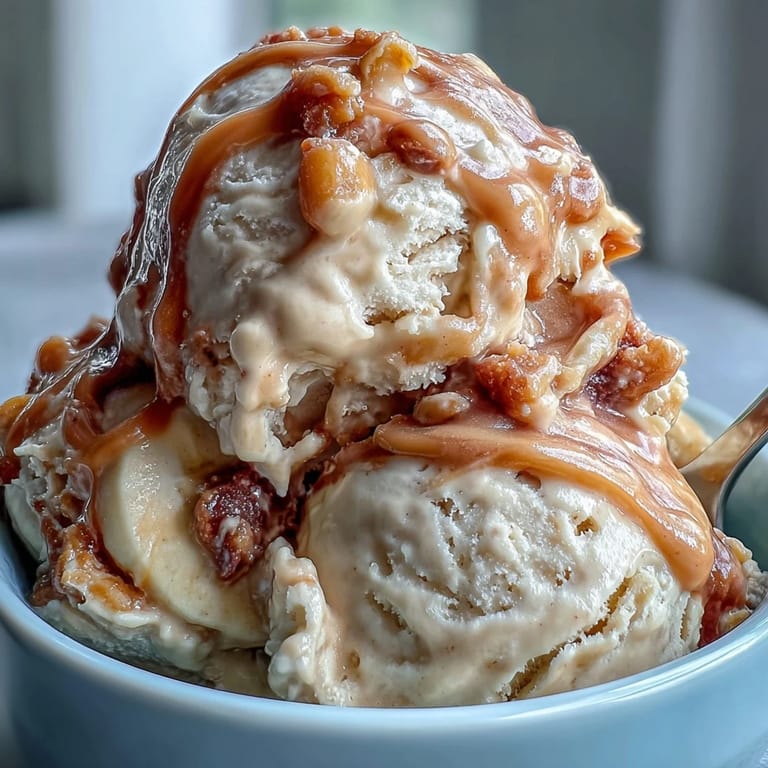
Fold in chocolate chips, chopped nuts, or swirls of melted chocolate before the final freeze. Fresh berries, sliced bananas, or a drizzle of nut butter are also excellent on top.
- → Can I substitute the peanut butter?
Yes—almond or cashew butter work well and change the flavor profile. Choose creamy nut butter for the smoothest texture and adjust amount to taste.
- → How long does it keep in the freezer?
Store in an airtight, freezer-safe container for up to 1 month. Thaw a few minutes at room temperature for easier scooping and stir before serving to restore creaminess.