 Save
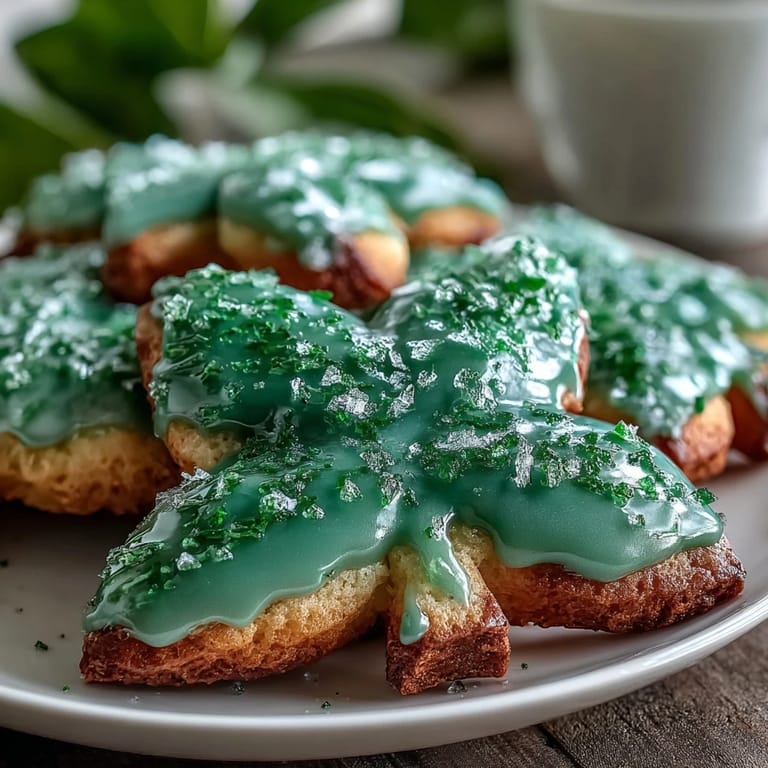
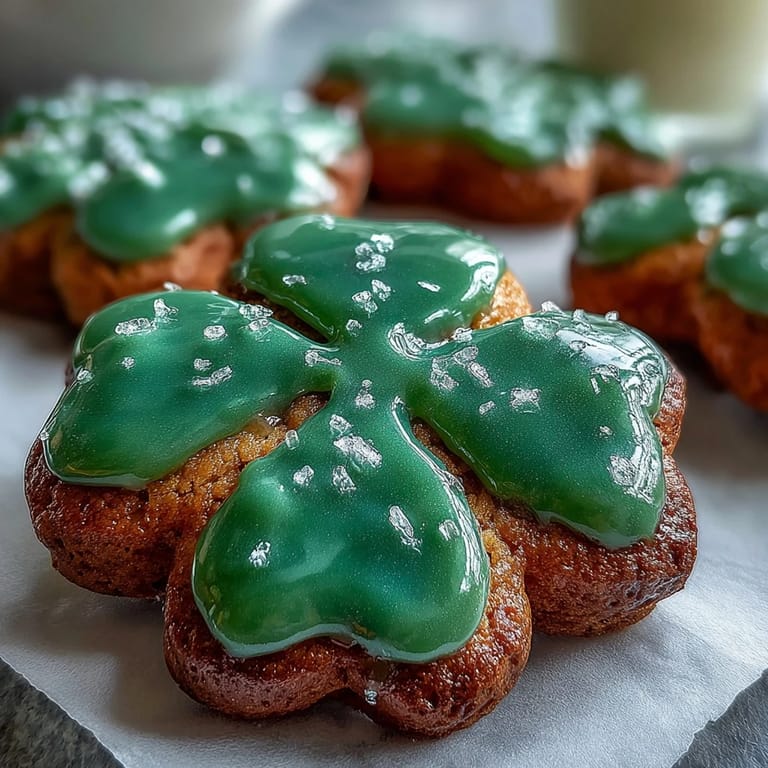
Save There's something magical about the kitchen in early March when everyone's suddenly thinking green. My neighbor stopped by one afternoon with a shamrock-shaped cookie cutter she'd found at an estate sale, and within an hour we were covered in flour, laughing at how tricky it was to get the dough just right. These buttery sugar cookies became our unofficial St. Patrick's Day tradition, and now I make them every year without fail. The real magic, though, happens when you pipe that vibrant green royal icing across each cookie—it's impossibly smooth, perfectly shiny, and makes everyone smile before they even taste one.
I'll never forget the year my daughter insisted on helping decorate, and somehow her shamrocks ended up with more icing than cookie. Instead of being upset, we laughed so hard that the neighbors asked what we were celebrating. That's when I realized these cookies aren't really about perfection—they're about the moment, the green color, and the joy of making something festive together.
Ingredients
- All-purpose flour (2 1/2 cups): The foundation of these cookies, and sifting it with baking powder ensures an even rise and tender crumb.
- Baking powder (1/2 teaspoon): Just enough to give the cookies a gentle lift without making them cakey or dense.
- Salt (1/4 teaspoon): This tiny amount enhances the butter flavor and balances the sweetness beautifully.
- Unsalted butter (3/4 cup, softened): Room temperature butter creams properly and creates that signature tender texture; cold butter will leave lumps.
- Granulated sugar (1 cup): This is your sweetness and structure—don't skip the creaming step or the cookies won't have that perfect tender-but-hold-their-shape texture.
- Egg (1 large): Binds everything together and adds just enough moisture to keep these cookies from being dry.
- Vanilla extract (1 teaspoon): Use pure vanilla, not imitation; the flavor difference in something this simple is noticeable.
- Almond extract (1/2 teaspoon, optional): This is my secret weapon—it adds an almost floral sweetness that makes people wonder what you did differently.
- Powdered sugar for icing (2 cups, sifted): Sifting removes lumps and prevents grainy icing, which is the difference between silky and blotchy.
- Meringue powder (2 tablespoons): This stabilizes the royal icing so it hardens properly without needing raw egg whites.
- Room temperature water (3–4 tablespoons): Add gradually because the icing thickens as you beat it, and you want it pipeable but not runny.
- Green gel food coloring: Gel holds up better than liquid coloring and won't thin your icing; a tiny dab goes a long way.
Tired of Takeout? 🥡
Get 10 meals you can make faster than delivery arrives. Seriously.
One email. No spam. Unsubscribe anytime.
Instructions
- Mix your dry ingredients:
- Whisk together flour, baking powder, and salt in a medium bowl, breaking up any lumps you find hiding at the bottom. This takes about a minute and ensures everything bakes evenly.
- Cream the butter and sugar:
- Beat them together for a full 2 minutes until the mixture is pale, fluffy, and almost mousse-like. This is where your cookies get their tender texture, so don't rush it.
- Add the wet components:
- Drop in the egg and both extracts, beating until everything is completely incorporated and the mixture looks smooth and slightly glossy. Scrape down the bowl if you see streaks of unmixed butter.
- Combine wet and dry:
- Add the flour mixture gradually, folding and stirring just until the dough comes together without any white streaks. Stop as soon as it looks unified because overmixing develops gluten and toughens your cookies.
- Chill the dough:
- Divide into two discs, wrap tightly in plastic wrap, and refrigerate for at least an hour. I often make this the night before because cold dough is so much easier to work with and holds its shape better when baking.
- Preheat and prepare:
- Get your oven to 350°F and line your baking sheets with parchment paper so your cookies slide off easily when they cool. This prevents the bottoms from browning too quickly.
- Roll and cut:
- On a lightly floured surface, roll out one dough disc to 1/4-inch thickness, keeping it even so all your cookies bake at the same rate. Use your shamrock cutter decisively—hesitant pressing leaves ragged edges.
- Space them properly:
- Place each cookie at least 1 inch apart on your prepared sheets because they spread slightly and you want them to stay individual shamrocks, not a green blob. I arrange mine in neat rows so they look intentional.
- Bake to golden:
- Bake for 8–10 minutes until the edges are just beginning to turn golden brown. The centers might look slightly underdone, which is perfect—they'll set as they cool and stay tender inside.
- Cool properly:
- Let them sit on the baking sheet for 5 minutes so they firm up enough to move, then transfer to a wire rack to cool completely. This prevents them from being too fragile or too warm for icing.
- Make the royal icing:
- Sift powdered sugar and meringue powder together into a bowl, eliminating any lumps that will end up in your finished icing. Add water and vanilla, then beat on low speed for 5–7 minutes until it's smooth, glossy, and the consistency of thick pudding.
- Add the color:
- Start with just a tiny dab of green gel food coloring and mix thoroughly, adding more until you reach your desired shade. A little goes a long way, and you can always add more but you can't take it out.
- Pipe and flood:
- Transfer icing to a piping bag with a small round tip, outline each cookie first, then flood the center with icing in a slightly thinner consistency. The outline acts as a dam to keep the flood icing from running everywhere.
- Let it set:
- Allow at least an hour for the icing to harden completely before stacking or serving, or it'll smudge and stick together. I often let mine sit overnight because fully hardened icing is more forgiving for handling.
 Save
Save There was one year when my sister brought these cookies to a St. Patrick's Day potluck at work, and someone asked if she'd ordered them from a bakery. She didn't correct them, but later told me it made her feel like the best baker alive. That's exactly what these cookies do—they make you feel accomplished and make everyone around you feel celebrated.
Decorating Ideas That Actually Work
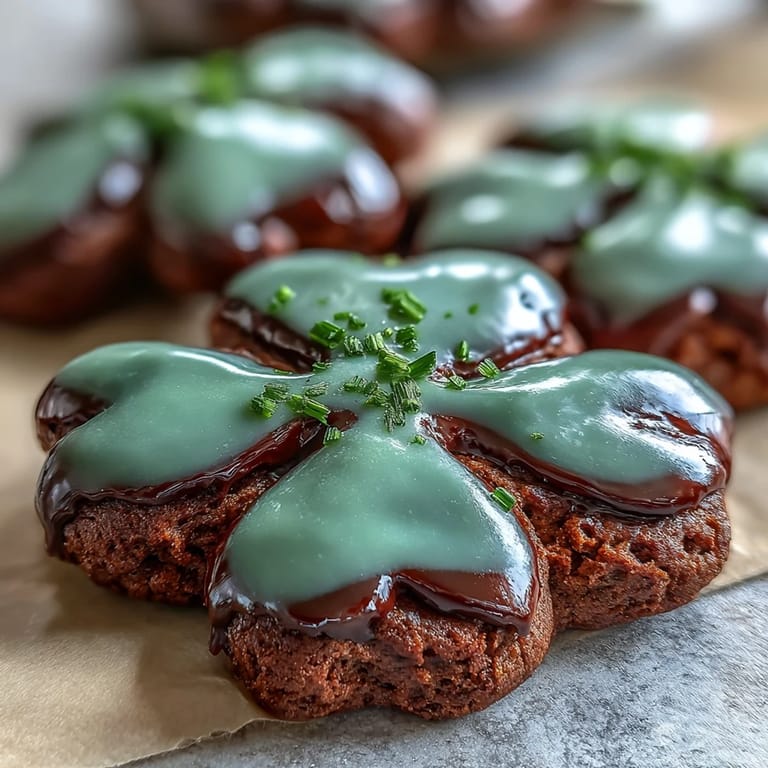
Once your base green icing is completely set, you can get creative without fear of it running or smudging. I've piped white icing details onto the green, added edible gold glitter to wet icing for an elegant shimmer, and even used a toothpick to drag thin lines through fresh icing for marbled effects. The key is remembering that the icing hardens as it sits, so timing matters when you're layering different techniques.
Storage and Make-Ahead Magic
These cookies are genuinely designed for planning ahead, which is my favorite kind of recipe. The undecorated dough discs can live in your freezer for up to three months, and the baked unfrosted cookies stay fresh at room temperature for several days in an airtight container. Royal icing actually helps preserve the cookies by sealing them, so these finished decorated shamrocks keep beautifully for up to a week.
Customizing Without Losing the Magic
While these cookies are perfect as written, I've learned that small tweaks let you make them your own. Skip the almond extract if you prefer pure vanilla, add a tiny bit of lemon zest to the dough for brightness, or experiment with different colors beyond green. The structure of the recipe is sturdy enough to handle minor adjustments, though I wouldn't recommend changing the flour amount or baking temperature since those are what create the texture magic.
- For softer cookies that feel more cake-like, reduce the baking time by a full minute and they'll have a chewy center.
- If you want extra flair, sprinkle edible gold glitter onto the wet icing just before it sets completely.
- Almond extract is optional but I genuinely think it elevates the flavor in a way people notice without being able to name it.
 Save
Save These shamrock cookies have become the thing I bake when I want to remind myself and everyone around me that small, intentional moments matter. Every year feels like the first year, somehow.
Recipe FAQs
- → What makes the cookies buttery and tender?
The use of softened unsalted butter creamed with sugar creates a light, tender texture with rich flavor.
- → How does chilling the dough affect the cookies?
Chilling firms the dough, making cutting precise shamrock shapes easier and preventing excessive spreading during baking.
- → What ingredient gives the royal icing its green color?
Green gel food coloring is added to the royal icing to achieve the vibrant festive hue without altering texture.
- → Can the almond extract be omitted or substituted?
Yes, almond extract is optional; omitting it still yields delicious cookies with vanilla notes.
- → How should cookies be stored to keep them fresh?
Store in an airtight container at room temperature for up to one week to retain texture and flavor.