 Save
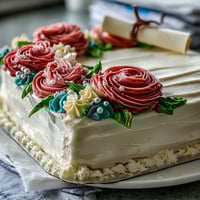
Save There's something about baking a cake for someone's graduation that makes you want to pull out all the stops. I was standing in my kitchen on a warm June afternoon, staring at a blank sheet pan and thinking about my friend's daughter finally walking across that stage. The vanilla cake I'd made dozens of times before suddenly felt too ordinary, so I decided those buttercream roses were non-negotiable. What started as nervous piping practice turned into the most satisfying afternoon of creative baking I'd had in years.
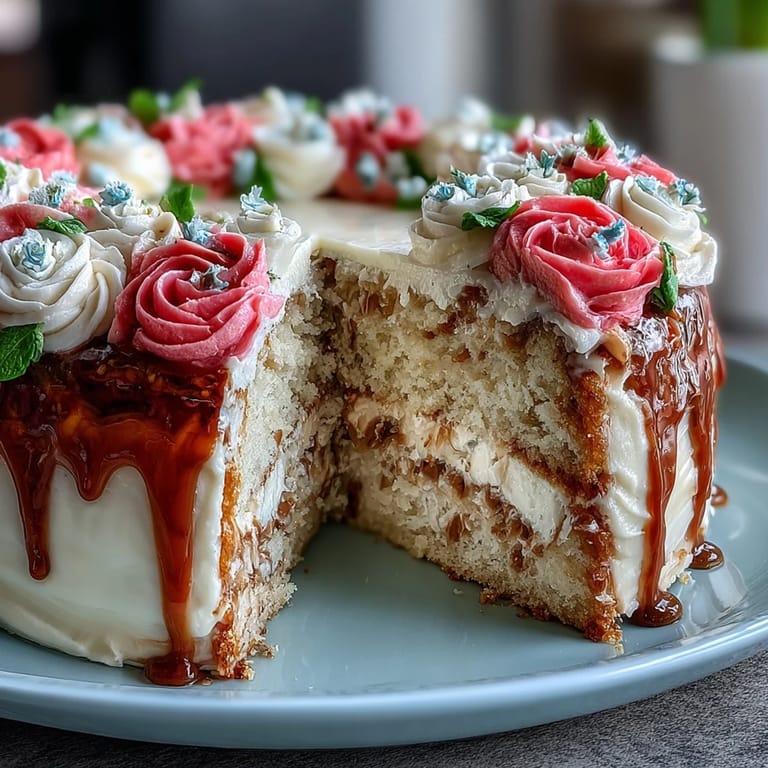
I brought this cake to a backyard graduation party where the birthday girl's grandmother took one look and gasped. She thought I'd ordered it from a bakery, which felt like the highest compliment I could have asked for. Watching people's faces light up when they realized this showstopper came from my kitchen made every minute of piping worthwhile.
Ingredients
- All-purpose flour (3 cups): The foundation of a tender crumb; room-temperature ingredients make all the difference in how smoothly it incorporates.
- Baking powder and baking soda (2½ tsp and ½ tsp): This combination gives you a cake that rises evenly without becoming too fluffy or dense.
- Salt (½ tsp): A tiny pinch that makes the vanilla sing and prevents the cake from tasting flat or one-dimensional.
- Unsalted butter (1 cup for cake, 1½ cups for frosting): Room temperature is truly essential here; cold butter won't cream properly and you'll end up with a dense, grainy result.
- Granulated sugar (2 cups): Creates structure while keeping the cake tender; creaming it well with butter is where the magic begins.
- Eggs (4 large): Room temperature eggs emulsify smoothly into the butter mixture, creating a lighter, fluffier cake.
- Vanilla extract (1 tbsp for cake, 2 tsp for frosting): Use pure vanilla if you can; the difference in flavor against all that sugar is honestly noticeable.
- Whole milk (1¼ cups for cake, ¼ cup for frosting): Room temperature milk won't shock the batter and will blend seamlessly.
- Powdered sugar (6 cups): Sift it before measuring or mixing; lumpy frosting is frustrating to pipe.
- Gel food coloring (assorted colors): Gel won't thin out your frosting like liquid coloring does, so your roses stay structured and vivid.
Tired of Takeout? 🥡
Get 10 meals you can make faster than delivery arrives. Seriously.
One email. No spam. Unsubscribe anytime.
Instructions
- Prep your pan and preheat:
- Set your oven to 350°F and line that 12x18-inch sheet pan with parchment paper so the edges overlap slightly. This prevents any sticking and makes cleanup almost effortless.
- Mix your dry ingredients:
- Whisk flour, baking powder, baking soda, and salt together in a medium bowl. Getting these combined before you start the wet ingredients keeps lumps from forming.
- Cream butter and sugar:
- Beat room-temperature butter and sugar together for 3-4 minutes until it looks pale and fluffy, almost like whipped clouds. This is where the cake's texture is determined, so don't rush it.
- Add eggs one at a time:
- Drop each egg in and beat well after each addition; this helps them emulsify properly. If your batter looks slightly curdled, that's actually normal and will come together once you add the flour.
- Alternate flour and milk:
- Start with dry ingredients, then milk, then dry again, ending with dry. Mix just until combined; overmixing develops gluten and makes the cake tough.
- Bake to golden perfection:
- Pour batter into the prepared pan and smooth the top gently. Bake 30-35 minutes until a toothpick in the center comes out clean or with just a few crumbs.
- Cool completely:
- Let the cake cool in the pan on a wire rack for at least an hour before frosting; warm cake will melt your buttercream.
- Make the buttercream:
- Beat room-temperature butter until creamy, then gradually add sifted powdered sugar a bit at a time. Add milk and vanilla last, beating until smooth and fluffy, about 5 minutes total.
- Tint your frosting:
- Divide buttercream into bowls and add gel coloring drop by drop, stirring until you reach your desired shades. A little goes a long way with gel, so start small.
- Create a smooth base:
- Spread a thin layer of white buttercream across the entire cake using an offset spatula. This seals in any crumbs and gives your roses a clean canvas.
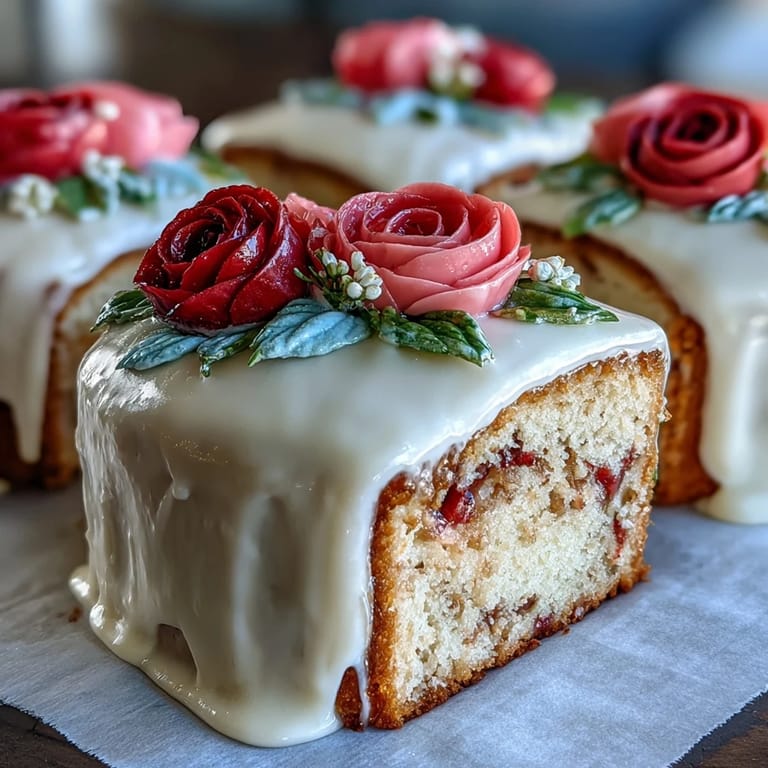
- Pipe your roses and leaves:
- Fit piping bags with a petal tip for roses and leaf tip for leaves, working one color at a time. Pipe clustered roses along the edges or in corners, tucking green leaves between them.
- Add your message:
- Use a small round tip and white or contrasting frosting to pipe Congratulations or a personalized message across the cake.
 Save
Save The real magic happened when the graduate cut into that cake at the party, and the vanilla aroma filled the whole backyard. People kept coming back for seconds, and I overheard someone ask if I'd considered selling these things, which made me laugh and feel proud in equal measure.
Why This Cake Works for Celebrations
A sheet cake has this incredible practicality that a layer cake doesn't; you're not stacking, leveling, or worrying about structural integrity. You bake it once, frost it once, and suddenly you have enough dessert to feed twenty-four people without breaking a sweat. The vanilla is classic and familiar enough that it doesn't overshadow the moment, letting the decoration be the real star.
The Art of Rose Piping Without Overthinking It
I spent way too much time watching piping tutorials before my first attempt, and honestly, the best lesson came from just doing it badly a few times. The piping bag will feel awkward in your hand at first, and your roses might look more like frosting blobs initially. But something shifts after the fifth or sixth rose; your hand remembers what it's supposed to do, and suddenly you're creating something genuinely beautiful.
Storage and Serving Wisdom
This cake actually improves on day two because the flavors settle and the crumb becomes even more tender. Keep it covered at room temperature if you're serving within a day or two, or refrigerate it for up to five days if you need the extra time. Just remember to pull it out of the fridge about an hour before serving so the frosting softens back to that silky texture.
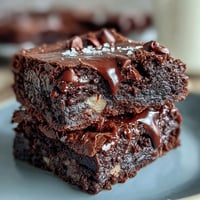
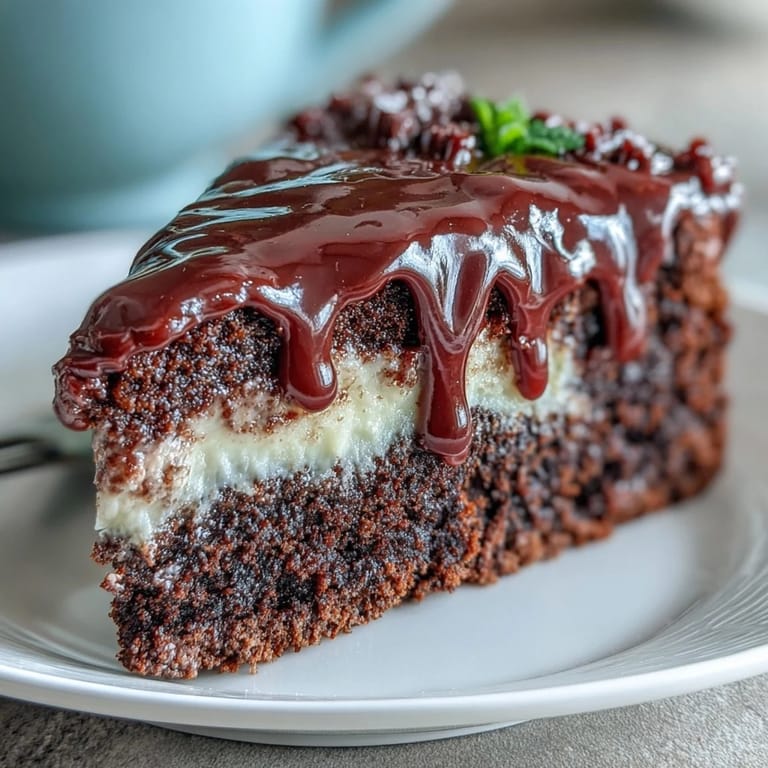
- For a chocolate variation, swap three-quarters of a cup flour for three-quarters cup unsweetened cocoa powder and you'll have an elegant chocolate sheet cake instead.
- If you're not confident about piping, you can pipe individual roses on parchment paper ahead of time, refrigerate them, and then arrange them on the frosted cake just before serving.
- Pair this with sparkling lemonade or even champagne if you really want to make the moment feel special.
 Save
Save Baking this cake for someone's graduation is about more than just feeding people; it's about showing up for a moment that matters. Every piped rose is a small gesture of celebration, and honestly, that's enough.
Recipe FAQs
- → What type of flour is best for this cake?
All-purpose flour provides a balanced texture, allowing the cake to be moist yet sturdy enough to hold decorations.
- → How can I achieve vibrant buttercream colors?
Use gel food coloring for rich, vivid colors without thinning the buttercream consistency.
- → Can this cake be made in advance?
Yes, it can be baked and frosted a day ahead. Store covered at room temperature or refrigerate to keep fresh.
- → What piping tips are recommended for the buttercream roses?
A petal tip is ideal for creating realistic rose petals, while a leaf tip works well for surrounding foliage.
- → Is there a chocolate version of this cake?
Yes, substitute ¾ cup flour with cocoa powder to create a chocolate variation with the same texture.